Set up your Lev account, manage your profile and company details, add team members, and understand how roles work.
Set Up Your Account
When you first use Lev, work through these in order:
-
Sign in. Open your organization’s Lev URL and sign in with your company email. If prompted, complete two-factor verification from your inbox.
-
Connect email. Use Connect your email on the home experience (or follow the email integration guide). That lets launch messages send from your account and keeps deal threads in one place.
-
Sync contacts. After email is connected, choose Enable Contact Syncing to surface professional lender contacts you’ve emailed. You review and confirm before anything is added to Network.
-
Add contacts manually. From Network → People, use Add Contact anytime you want to add lenders without waiting on sync.
-
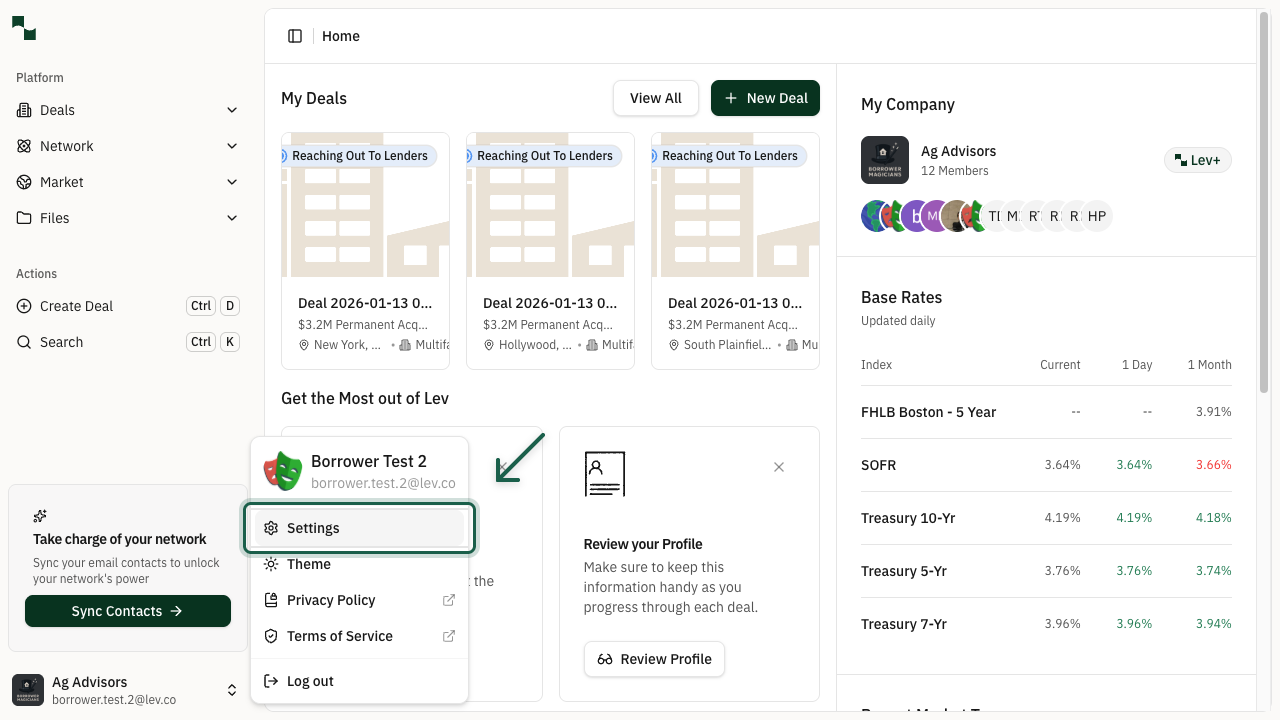
Open Settings. Click your avatar or company in the bottom-left sidebar → Settings. Complete My Details and My Company—some of this shows to lenders if you share a Deal Room.
Email integration is what makes launch and reply tracking feel seamless. Synced or uploaded contacts make My Network useful on every deal.
Add a Team Member to a Deal
Invite colleagues from your organization to collaborate on a specific deal.
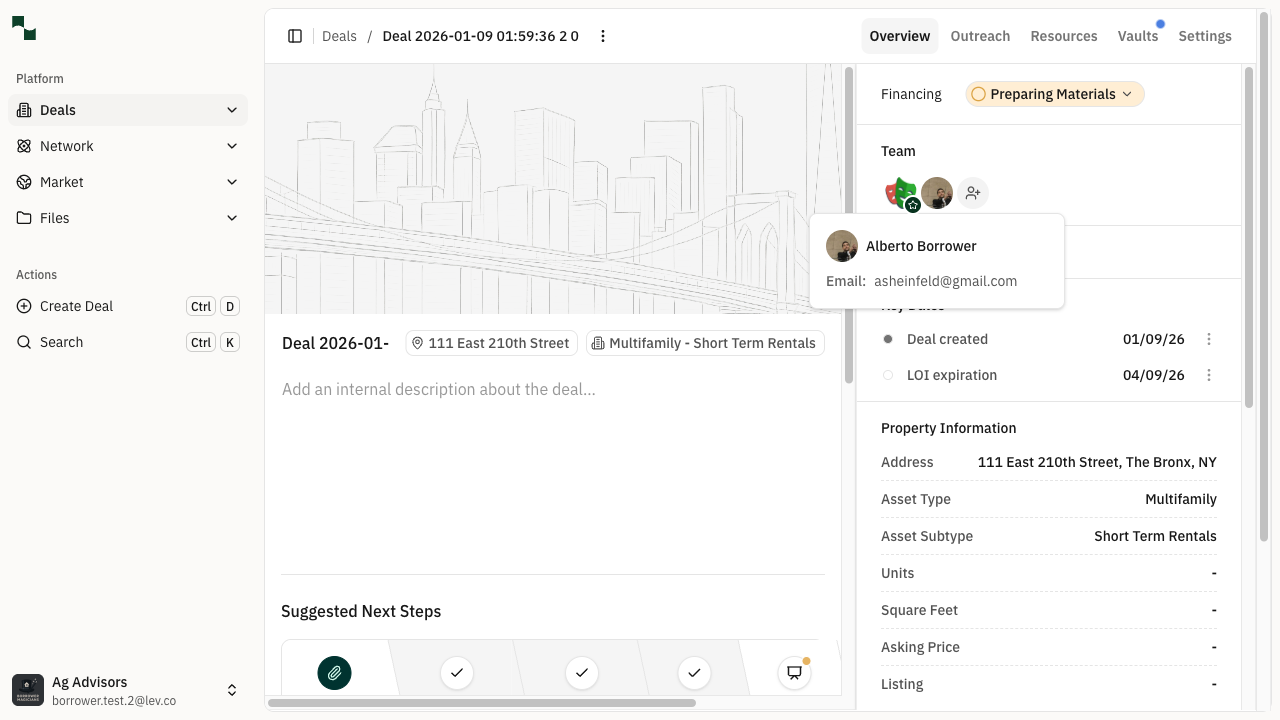
Open Manage team. On the deal Overview, find Team in the right sidebar and click Manage team (person icon with gear).
Add someone and set their role. Use Add people…, pick a colleague, choose a role, then + Add.
- Viewer — Can see the deal; cannot edit.
- Editor — Can view and edit deal content and collaborate like you.
They appear under Team and get access according to that role.
User Permissions
Admin — Full access across the org: all deals, user and role management, and organization settings.
Editor — On assigned deals: can edit, send placement email, upload/download files, edit Dealbook and terms, change deal team membership, and get deal notifications. Cannot open deals they are not on.
Viewer — Read-only on assigned deals: can view placements, documents, Dealbook, and terms. Cannot edit, upload, send mail, or change the team. Does not receive deal notifications.
If an Editor switches themselves to Viewer, an Admin must restore Editor access.
Manage Profile & Company
Open Settings. Click your name or company in the bottom-left sidebar, then Settings.
Update My Details. The page opens on My Details. Set photo, name, title, phones, LinkedIn, bio, and email signature. Turn on Add signature to all messages if you want Lev to append your signature to outbound mail.
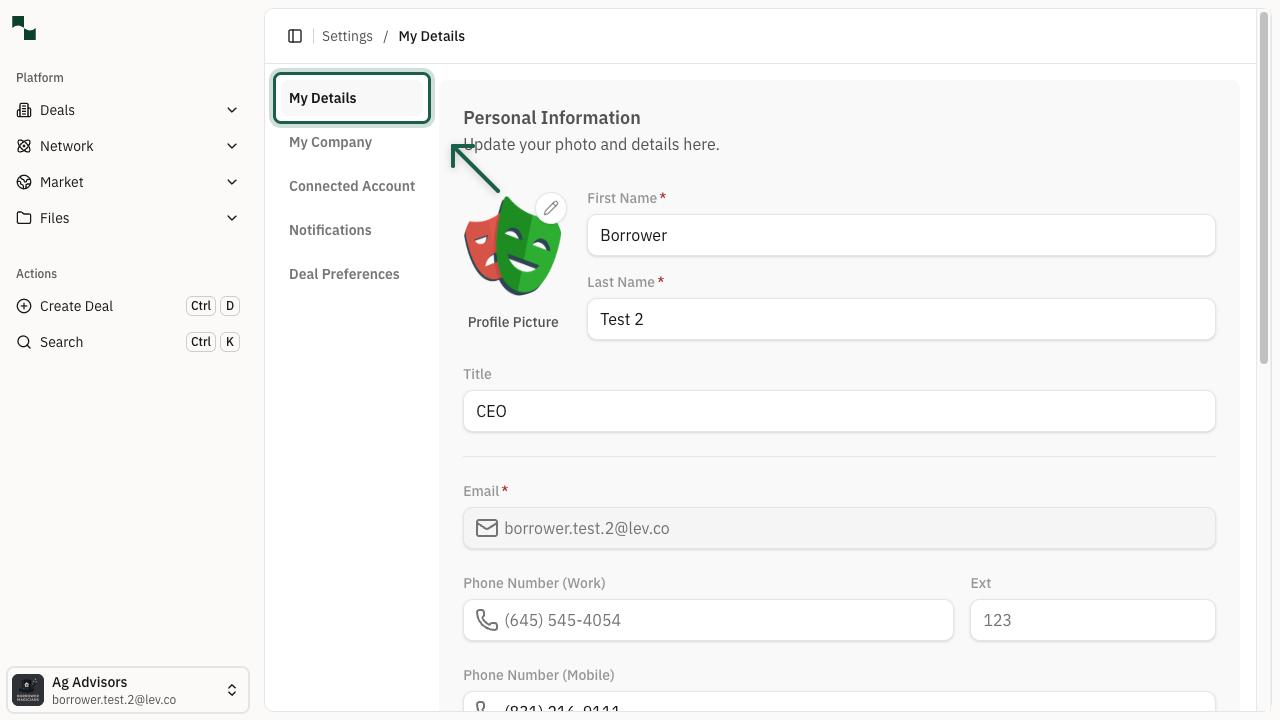
Use a clear headshot—buyers and lenders see it on outreach and shared materials. Keep phone and title accurate.
Update My Company. In the left sidebar, open My Company to edit logo, legal name, HQ state, site, financial highlights (liquidity, net worth, AUM), and company description.
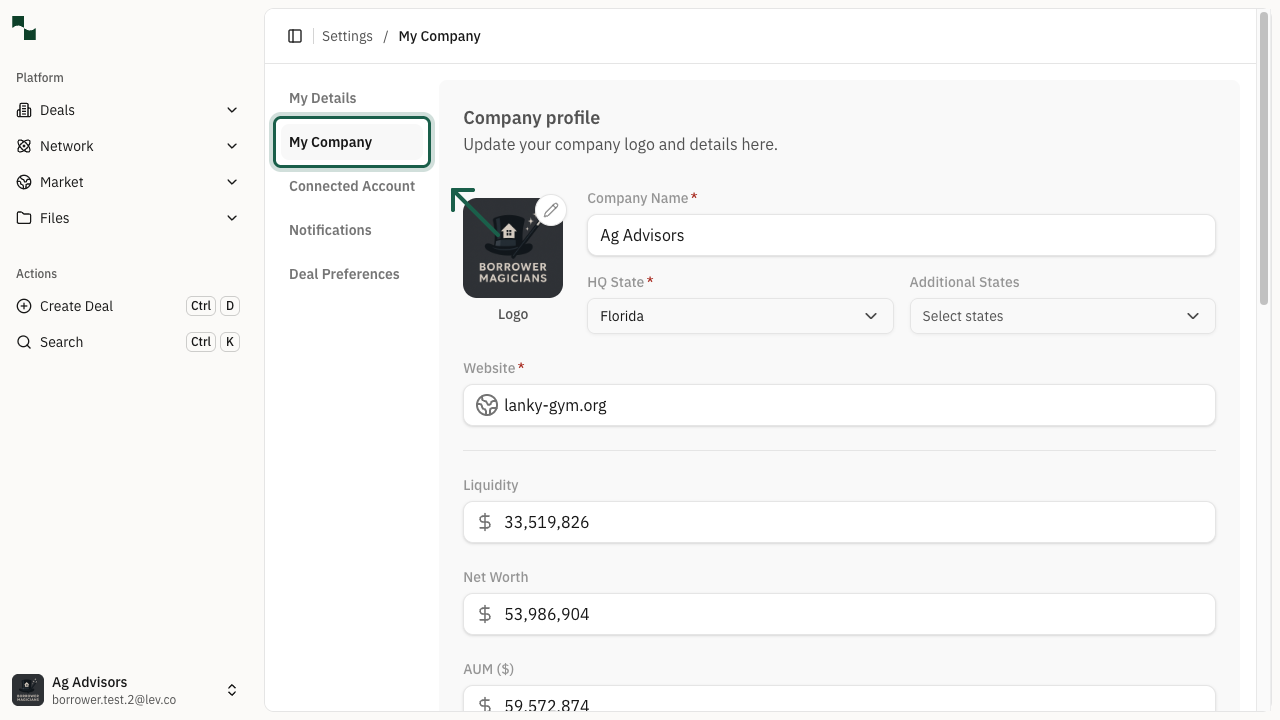
The signature field is plain text only (no logos or rich HTML)—that reduces spam-filter issues with lender inboxes.